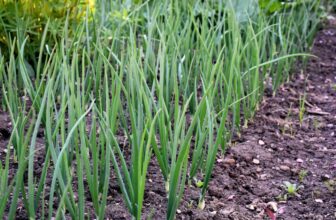

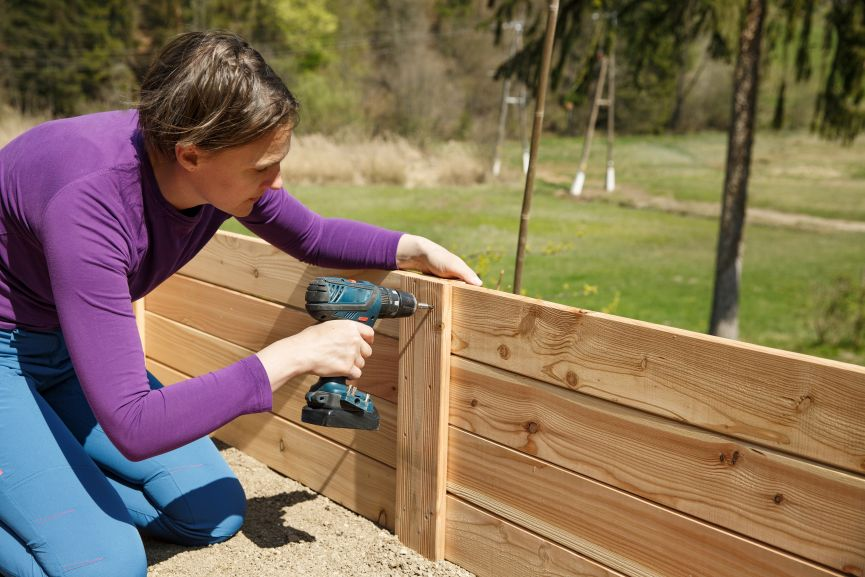
One component of creating a beautiful backyard is to build a landscaping raised bed. Landscaping raised beds are one of the most practical and visually rewarding upgrades you can make to your yard. Whether you are aiming to grow vegetables, herbs, or ornamental plants, a landscaping raised bed offers better soil control, improved drainage, reduced weeds, and overall easier maintenance. With thoughtful planning and solid construction, a raised bed can last for many years while enhancing the overall design of your outdoor space.
For some, it is considered a great resale component value depending on the buyer’s wishes. Many will simply look for a very low maintenance backyard. In any case for those enjoying time spent outdoor and entertaining a flowery backyard built for them may be a deciding factor to put a bid in on your property if you plan to sell at some point of course.
Factors to Consider When you Build a Landscaping Raised Bed
First let’s define what a raised bed are. They are elevated planting areas contained within a frame, typically made of wood, stone, or metal. Their shapes can be varied like a rectangle shape, round and oval pr simply an asymmetric shape to fit the perfect spot in your yard. Landscaping raised beds provide several key advantages over traditional in-ground gardening. Let’s have a look at the main one:
- Improved soil quality: You control the soil mix from the start.
- Better drainage: Elevated soil drains more efficiently, reducing root rot.
- Fewer weeds: Defined borders prevent grass and weeds from creeping in.
- Easier access: Less bending and kneeling makes gardening more comfortable.
- Enhanced design: Raised beds create clean lines and visual structure.
They work especially well in areas with poor native soil, heavy clay, or compacted ground.
Planning Your Landscaping Raised Bed
As we talked before in our Backyard Garden Planning post, before picking up tools and start digging or removing grass, careful planning should come into play which will ensure long-term success. The type of landscaping raised beds need to be determined. Do you want a metal, wood, cement, or stone framing? If it is for a vegetable patch, how long and wide should it be? Do you want to build or purchase one built already. The pre-built models are generally more expensive with some assembling to do and may be less durable.
If you choose the prebuilt models check out our review we did here.
I have also seen some built with wood from wood pallets which can be much cheaper since many places will donate their pallets for nothing.
Planning your landscaping raised beds will save you a lot of headaches trust me.
Choose the Right Location
Select a site that receives adequate sunlight. Most vegetables require at least 6–8 hours of direct sunlight daily. For ornamental beds, assess whether your plants prefer full sun, partial shade, or full shade.
Other factors to consider are:
- Proximity to a water source;
- Drainage patterns – avoid low spots where water pools after rain.
- Accessibility for maintenance; and
- Visibility in your landscape design
Determine Size and Height
A common raised bed width is 4 feet (1.2 meters), It allows you to reach the center from either side without stepping into the bed. I have learned that pretty quick with my tomato patch making it double size 8 feet wide. It made it quite difficult to pick tomatoes from the plants in the middle a well as planting my sticks when the plants grew taller. So do not make them too wide!
As for the length, you have more flexibility. It can vary depending on space, but 6–8 feet are typical. The 8 feet x 4 feet frame is my favorite because when you purchase the lumber you can maximize your pieces by getting three pieces 8 feet long and all you need to do is cut one piece in two. I also like to get a 4×4 inch post, which I will cut to the proper length, and these will be located at each corner. It reinforces the frame nicely all around.
As for the height of your frame, it will depend largely on the type of plants or vegetable you are planning to have. Obviously, the height depends on your needs. Below you will see a general rule for each type:
- 6–8 inches: suitable for shallow-rooted plants;
- 12–18 inches: ideal for vegetables
- 24 inches or more is excellent for accessibility and deep root crops.
A reminder to keep proportions balanced with your yard layout.
Selecting Materials
Wood: Wood is the most popular choice because it is affordable and easy to work with. Any of your box stores specialized in the sale of lumber will have the pieces you need. The most common and best type are:
- Cedar and redwood: Naturally, rot-resistant, and long-lasting
- Pressure-treated lumber: Budget-friendly but ensure it’s safe for gardening.
- Untreated pine: Inexpensive but may only last 3–5 years
Avoid older treated lumber that may contain harmful chemicals.
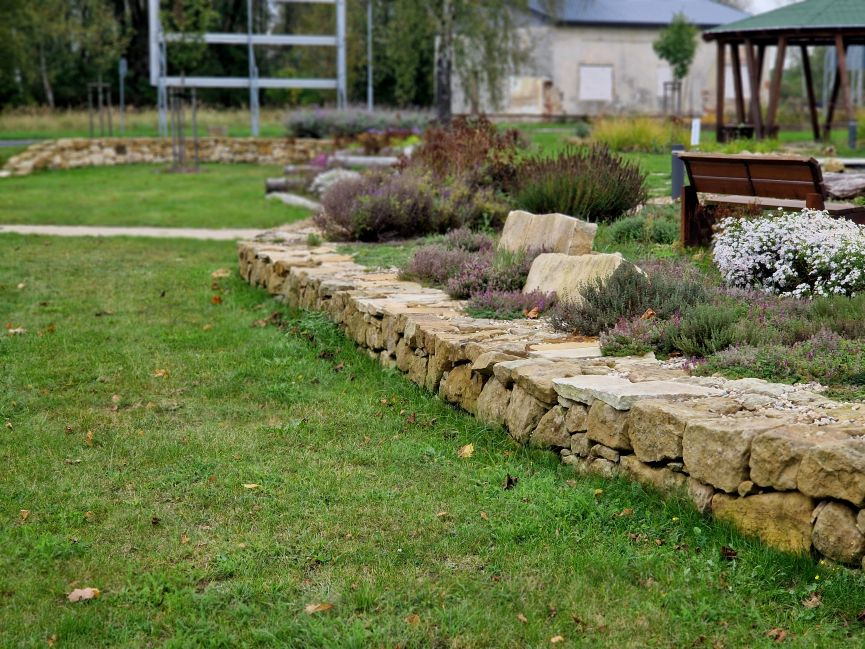
Stone or Brick: Landscaping stones enhance gardens through texture, color, and function, serving as low-maintenance ground cover, pathway materials, or decorative accents. They are durable and weather-resistant but require more labor and cost. These materials work especially well in formal landscape projects. In pouring rain, the wall they create will hold the soil nicely.
— picture of Stone wall Raised Beds –
Like wood, there are distinct types of stones you can use for your landscaping raised bed. Top choices include smooth River Rock for water features, versatile Lava Rock, and Decomposed Granite for garden beds. We will focus solely on stone you can use build raised beds.
Metal: Galvanized steel beds are modern and exceptionally durable. They resist rot and pests but can heat up in hot climates. Some have an eco-friendly powder coating layer extending their lives. They available in various shapes or sizes depending on the space you have planned it for. Some also come in white or black.
They are easy to assemble. Simply attach the galvanized planter panels with no need for additional tools or tools for assembly.
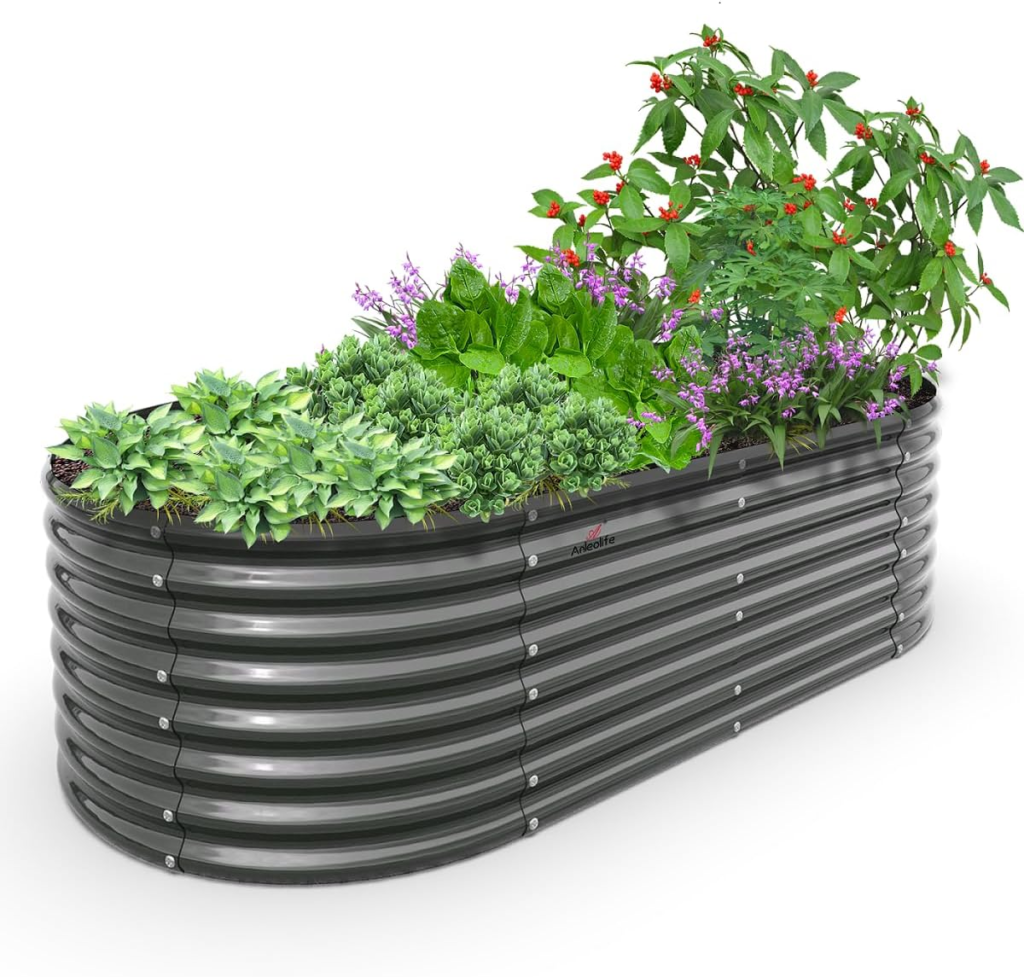
Thank you for the Garden In Minutes for their excellent instructional video
Required Tools and Supplies
Building a raised beds is not too complicated. Once you know where you want it, how big it will be and what will be the type of frame or wall you’ll need you can start gathering material and supplies. The tools will vary on the type of frame or wall you need for your raised beds. Have all materials ready before beginning construction. Below is a comprehensive list that covers wood, metal, or stones/cement.
- Tape measure
- Level
- Drill or screwdriver.
- Power Saw – Circular saw (if cutting wood)
- Shovel, spade, and rake.
- Landscape fabric (optional but recommended)
- Screws or fasteners
Vegetable Raised Bed – Step-by-Step Construction
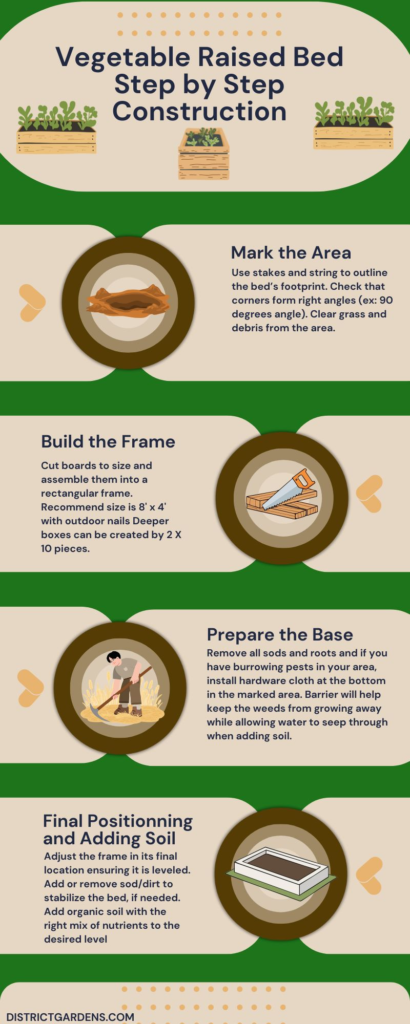
Raised bed for gardens are fairly simple to build if you have the tools and the time. The steps listed below are actions to take after you have planned your key factors for the raised bed as listed above. We have provided a quick aide-memoire for you to follow as well through infographic below.
Step 1: Mark the Area
Use stakes and string to outline the bed’s footprint. Check that corners form right angles (ex: 90 degrees angle). Clear grass and debris from the area. You may encounter obstacles like hidden rocks or old roots; ensure you have the right tools such as a pic or a lever bar to lift them.
TIP- You can remove sod or lay down cardboard to smother grass beneath the bed.
Step 2: Build the Frame
Cut boards to size and assemble them into a rectangular frame. One size I recommend is using either 3 pieces of 2×8 feet or 2×10. The 2×10 is used for a deeper bed. Most vegetables need about 10 inches of soil to thrive.
For beds taller than 12 inches, consider stacking boards and reinforcing corners with brackets or posts. I use posts on my 4×8 feet boxes regardless. It is sturdier and they won’t warped a few years down the road.
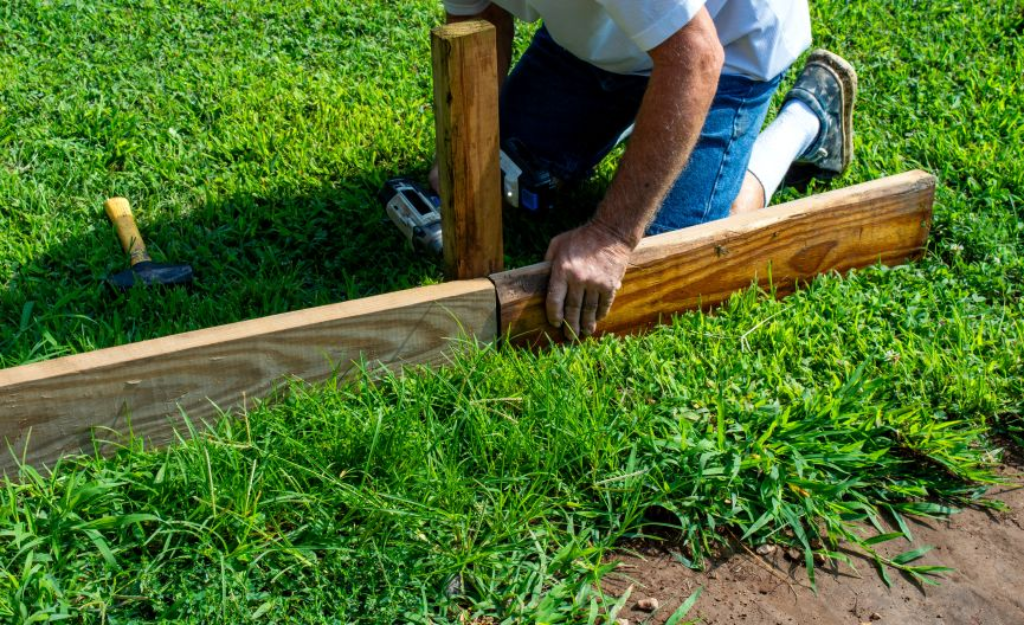
Always use exterior-grade screws to secure corners tightly. Drill pilot holes and use 2-1/2-inch deck screws to fasten the short walls to the ends of the long walls. Place the shorter walls flush to the longer walls to create a rectangle.
Safety Note on Pressure Treated Wood: When building your vegetable boxed frame, using pressure-treated lumber is an option. Today’s pressure-treated wood is designated safe to use around people, pets, plants, and vegetables. But if you are concerned about using treated wood, line the interior walls of the garden bed with a plastic sheet before adding soil.
Step 3: Prepare the Base
If burrowing pests are common in your area, install hardware cloth at the bottom, builder’s paper or landscape fabric. *** get Amazon links ****
This barrier between the soil in the bed and the soil in your yard helps keep weeds and grass from growing in the bed from below. At the same time, it is porous and allows water to pass through for proper drainage.
Keep the weed barrier in place with landscape fabric pegs fastened around the interior edge of the raised garden bed.
Do not use plastic sheeting, as it prevents proper drainage.
Step 4: Final Positioning and Level
Adjust the frame in its final location. Use a level to ensure it sits evenly. Uneven beds can cause water to pool on one side. You may need to dig slightly into the soil to create a stable foundation.
Step 5: Adding the Soil
One of the best advantages of using raised garden beds for your edibles is that the container rests on top of the ground. This allows you to control the soil and amendments to help sustain the plants you are growing.
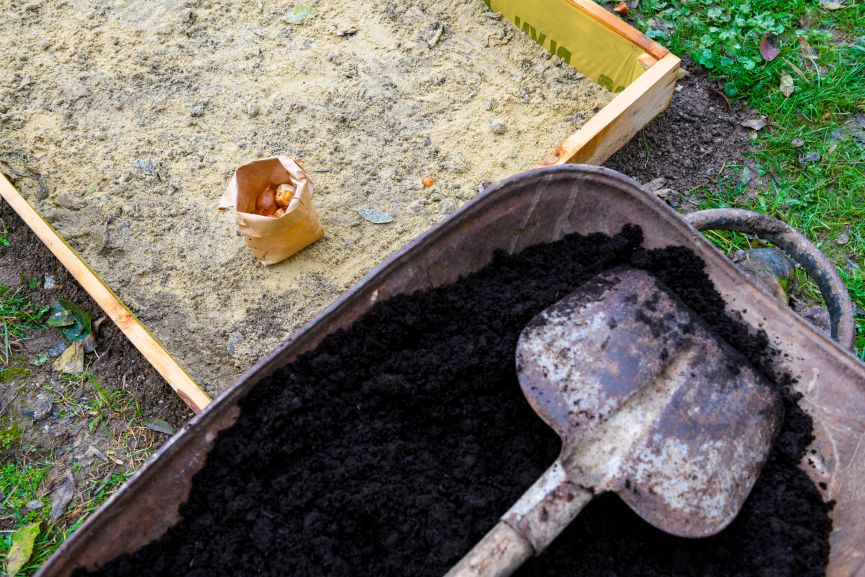
A recommended mix includes:
- 40% high-quality topsoil
- 40% compost
- 20% aeration material (perlite, coarse sand, or aged bark)
You may need to adjust your soil depending on what you will be growing. As an example, vegetables, like tomatoes, prefer a richer soil mix.
Keep in mind, some settling will occur afterwards so be prepared to add more soil where needed. At first add enough to fill the bed all the way to its edges. Use the formula Length x Width x Depth to determine the amount of soil needed to fill the container. A raised garden bed that measures 8-feet by 4-feet by 10-inches will need about 27-cubic feet of soil.
This blend provides nutrients, drainage, and structure.
For deeper beds, you can reduce cost by layering materials:
- Bottom layer: sticks or coarse organic debris
- Middle layer: partially decomposed leaves or grass clippings
- Top layer: premium soil mix
- Water thoroughly after filling to help soil settle.
Planting and Design Considerations
If you are looking at a raised beds with flowers, a few perennials some shrubs, think beyond function—consider aesthetics. Colored annual flowers blooming at various stages of the Spring-Summer and Fall season will give you that astounding look all year round. Having some perennials can also give you some low-maintenance flowers while shrubs bring in some style and neutrality.
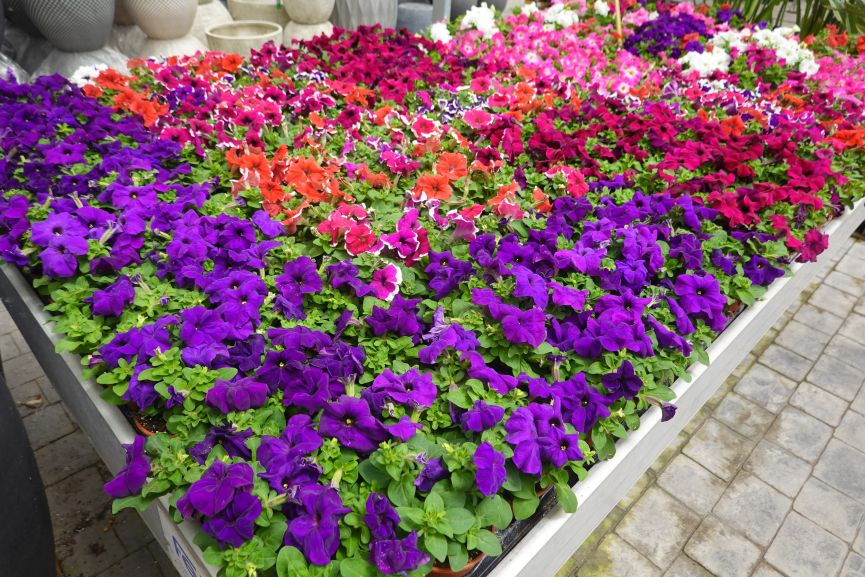
Below are some valuable tips to consider for flower and vegetable raised beds.
- Mix plant heights for visual interest
- Use edging plants to soften borders
- Incorporate mulch to retain moisture and reduce weeds
- Add drip irrigation for consistent watering
- For nighttime appeal consider adding some solar lighting to add to put some emphasis on key pieces of your raised beds.
For landscaping beds, combine perennials, ornamental grasses, and seasonal flowers for year-round appeal.
Maintenance Tips for Raised Beds
Raised beds like any outdoor structures require ongoing care to stay productive and attractive. Raised beds will be affected by weather, soil erosion, pest animals and weed creeping in. The bottom line is to stay on top of it. In addition, you will want your soil to be fresh and ready to receive the arrival of your new blooms and vegetables for the next season.
Below are some of the maintenance tips for raised beds you should always put into practice.
- Top off soil annually with compost;
- Inspect wood for rot or loose screws (frame box);
- Remove old mulch and refresh mulch each season;
- Rotate crops if growing vegetables; and
- Monitor moisture levels closely raised beds dry out faster
Because soil drains quickly, regular watering is essential during hot weather (dawn and sunset).
Common Mistakes to Avoid When Building a Raised Bed
When you build a raised bed, there are common mistakes, you should avoid. I’ve mention mine above where the width of my tomato patch was too wide and I couldn’t really access the middle that well especially when the tomato lants were at a height of 6-foot tall. I had the hardest time picking up my tomatoes and tying up my stakes to keep the plant straight. So, let’s have a look at some mistakes to avoid.
- Building too wide: If you cannot reach the center easily, maintenance becomes difficult.
- Using poor-quality soil: Cheap soil leads to poor plant performance and drainage.
- Ignoring drainage: Always ensure water can flow freely.
- Skipping reinforcement: Taller beds need corner supports to prevent bowing.
- Overfilling with compost: Excess compost can retain too much moisture.
Cost Considerations of Raised Beds
Costs vary widely depending on materials and size. Building a raised bed should always be based on your budget. The idea is to enjoy a raised bed that is affordable and well within your means. We have listed the three main types and their cost window. For certain raised beds like stone or bricks, we are not counting the labor cost if done by a professional. Those costs are also not counting the soil filling afterward.
- Basic wooden bed: $100–$300
- Stone or brick bed: $500+
- Metal kits: $150–$400
Please note a DIY construction is significantly cheaper than hiring a contractor. Do your homework if you are looking for a contractor to do the job especially with more complex raised beds or retaining wall. Get at least three to four quotes and do not commit to any contracts until you are sure and satisfied with the proposal and it is what you want.
Many landscaping contractors have the proper software to show what the raised bed would look like which will give you a visual before starting. It avoids sudden changes midway through which will not cost you more at the end.
Final Thoughts
Building a landscaping raised bed is a manageable project for most homeowners and offers long-term rewards. With thoughtful design, durable materials, and high-quality soil, you can create a productive and beautiful garden feature that enhances both function and curb appeal.
Whether you’re growing vegetables for your kitchen or designing a vibrant flower display, a well-built raised bed provides structure, efficiency, and style. With proper care, it will continue to improve year after year—making it one of the most worthwhile landscaping investments you can undertake.
If you find yourself on the fence to build a raised bed garden, you can drop us a word whether it is a comment, a question or a remark and we will gladly get back to you.
Happy Gardening!