
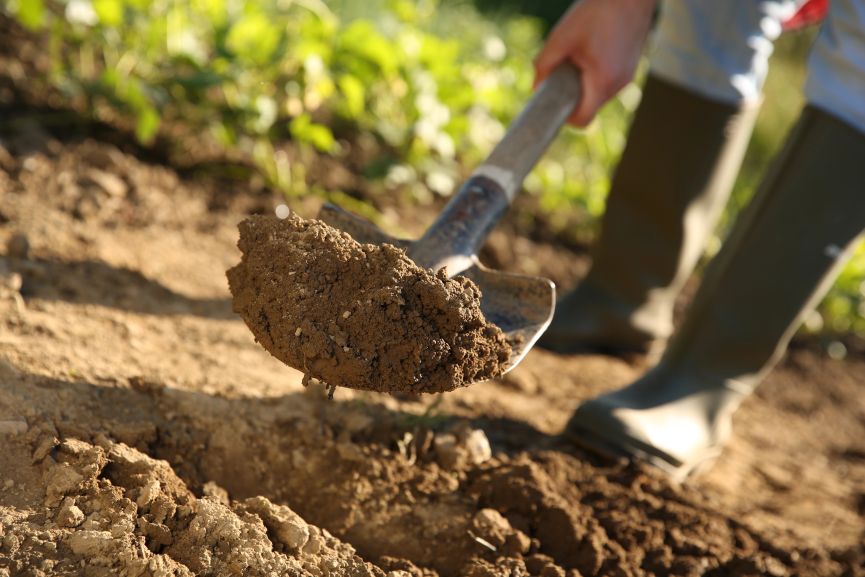
Preparing the garden soil in the Spring will become your best chance for gardening success
Spring gardens start with good soil preparation. The best way by preparing the garden soil for Spring is to clear debris, test your pH levels, add organic matter like compost, and ensure proper drainage before the planting season begins. When I prepare my garden beds early and properly, I see healthier plants and bigger harvests throughout the growing season.
Like the trees soil goes still and dormant during Winter. Your conditions will vary depending your region. For me in Canada, a colder region, preparing the soil is an important step. on the gardening season
I’ve learned that preparing garden soil for spring doesn’t have to be complicated or time-consuming. The soil holds all the nutrients, water, and support that plants need to thrive. It also supports beneficial microbes, bacteria, and fungi that break down organic material into food your plants can use.
Taking time now to prep your garden soil sets you up for success when the spring planting season arrives. I’ll walk you through each step, from testing your soil to adding the right nutrients so you can grow your best garden this year.
Key Takeaways
- Test your soil pH and nutrient levels before adding nutitional amendments to know what your garden needs
- Clear debris and add organic compost to boost the health of beneficial microbes and earthworms
- Use mulch and cover crops to protect the soil, lock in moisture, and suppress weeds.
- Adding organic compost is a valuable addition to spring start your garden
Preparing the Garden Soil in the Spring – Start By Assessing and Testing Your Soil
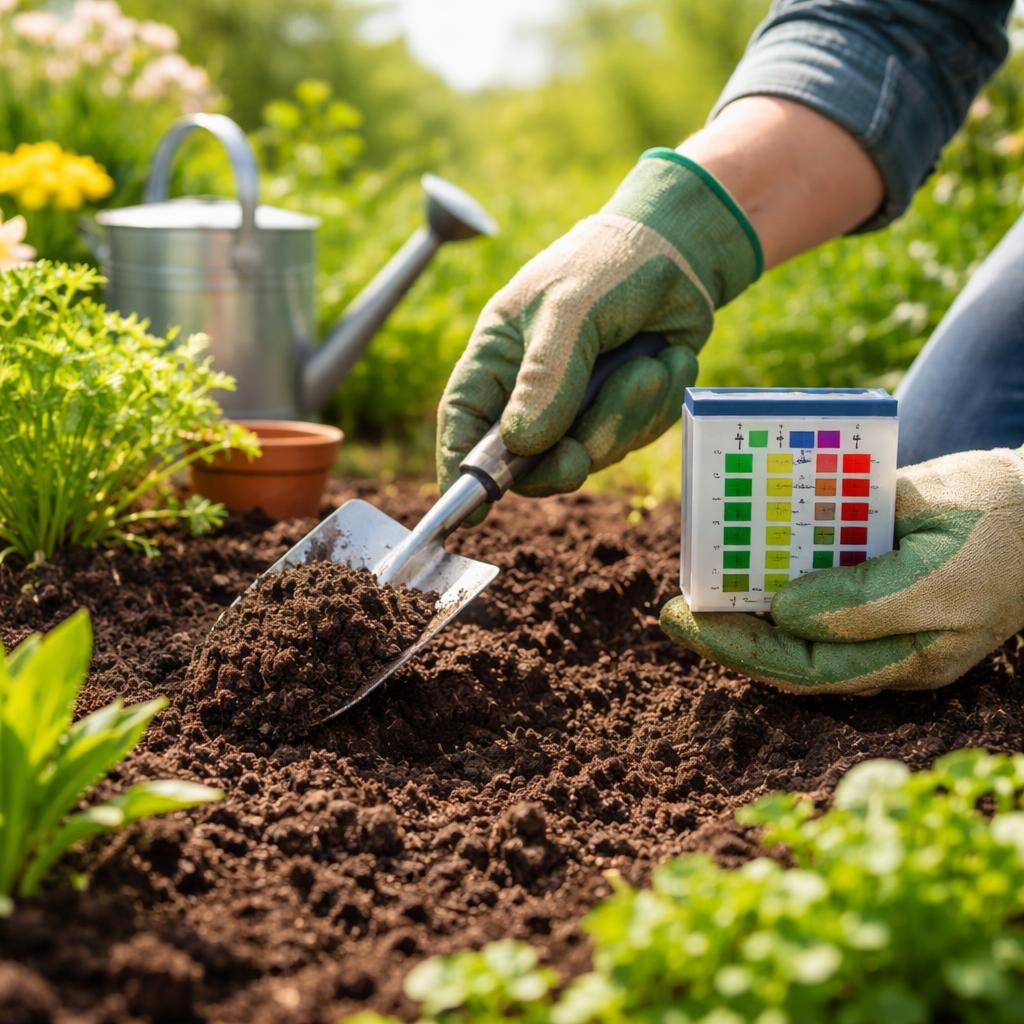
Before I start planting, I need to understand what’s happening beneath the surface. Testing helps me identify my soil type, structure, pH levels, and nutrient content so I can make the right improvements.
Determine Soil Type and Structure
I start by checking my soil type using a simple hand test. I grab a handful of moist soil and squeeze it firmly. If it forms a tight ball that doesn’t break apart easily, I have clay soil. If it feels gritty and falls apart immediately, that’s sandy soil. Soil that holds its shape but crumbles with light pressure is loam, which is ideal for most plants.
Soil structure matters just as much as type. I look for soil that has small clumps with spaces between them. These spaces allow air and water to move through. If my soil is compacted and dense, roots struggle to grow. I check for earthworms too, since they’re a good sign of healthy soil structure.
I also dig down about six inches to see how the soil looks below the surface. Dark, crumbly soil with visible organic matter indicates good structure. Hard, light-colored layers suggest I need to improve soil with amendments.
Conduct Soil Testing and Use Soil Test Kits
I use a soil test kit to get accurate information about what my garden needs. These testing steps guide me in determining nutrient content so I can prepare garden soil properly.
I collect samples from different areas of my garden, taking soil from about four to six inches deep. I mix these samples together in a clean bucket to get an average reading. Most kits include instructions for testing nitrogen, phosphorus, and potassium levels.
I follow the kit directions carefully, usually mixing soil with water or testing solution. The results show me which nutrients are lacking. Some kits provide color-coded charts that make reading results simple. If I want more detailed information, I can send samples to a local extension office for professional testing.
Check Soil pH Levels
I test soil pH levels because they control how well plants absorb nutrients. Most vegetables and flowers grow best when the pH stays between 6.0 and 7.0. Anything below 6.0 is too acidic, while readings above 7.5 are too alkaline.
My test kit includes pH strips or a probe that changes color based on acidity. I insert it into moist soil and wait for the reading. If my soil is too acidic, I add lime to raise the pH. For alkaline soil, I apply sulfur to lower it.
I retest after making adjustments because changes take time. Even small pH shifts affect plant health significantly. Blueberries prefer acidic soil around 4.5 to 5.5, while asparagus thrives in slightly alkaline conditions.
Identify Soil Fertility
Soil fertility tells me how many nutrients are available for my plants. I look at the three main nutrients: nitrogen for leaf growth, phosphorus for root development, and potassium for overall plant health.
My test results show nutrient levels as low, medium, or high. Low nitrogen means I need to add compost or fertilizer. Low phosphorus requires bone meal or rock phosphate. Potassium deficiencies need greensand or wood ash.
I also check for micronutrients like calcium, magnesium, and iron. These elements support specific plant functions. Good soil fertility includes adequate organic matter, which I can measure through testing. Most kits show organic matter as a percentage, and I aim for at least 5 percent in my garden beds.
Clearing and Preparing the Garden Area
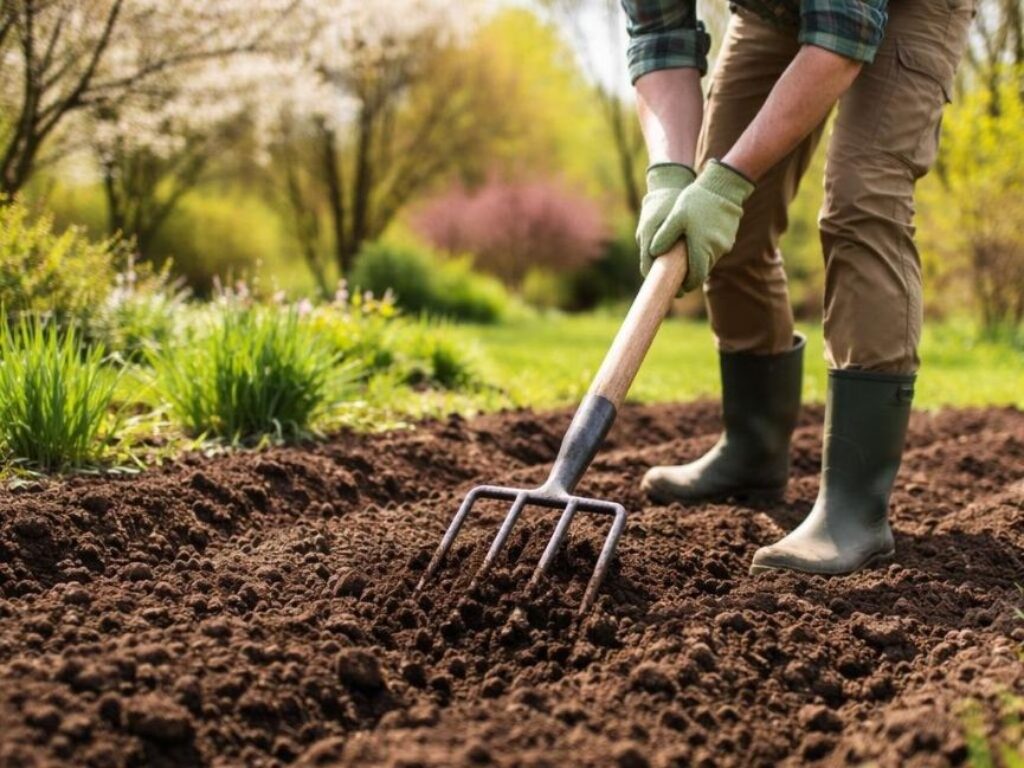
Before I can plant anything, I need to make sure my garden beds are clean and ready. This means pulling weeds, breaking up compacted soil, creating level planting surfaces, and ensuring water drains properly.
Remove Weeds and Debris
I start by pulling all visible weeds from my garden beds before they have a chance to spread. When I remove weeds in early spring, I prevent them from competing with my plants for nutrients and water later in the season.
I pull out any dead plant material, fallen branches, and leftover stems from last year’s crops. If the weeds are stubborn, I use a garden fork to loosen the soil around their roots and pull them out completely. Leaving weed roots behind means they’ll just grow back.
I save any healthy green plant debris for my compost pile. Dead leaves and small twigs can be chopped up and used as mulch later. However, I throw away any diseased or moldy plant material to prevent spreading problems to my new plants.
Tilling and Loosening the Soil
Once my beds are clear, I need to break up compacted soil from winter. I use a garden fork to gently loosen the top 6-8 inches of soil without disturbing the beneficial organisms living deeper down.
When I till the soil, I’m careful not to overwork it. Too much tilling destroys soil structure and can actually harm the ecosystem below the surface. I push my garden fork into the ground and rock it back and forth to create air pockets. Roto-tilling with a powered roto-tiller is not necessary. A simple fork or claw tiller will be sufficient.
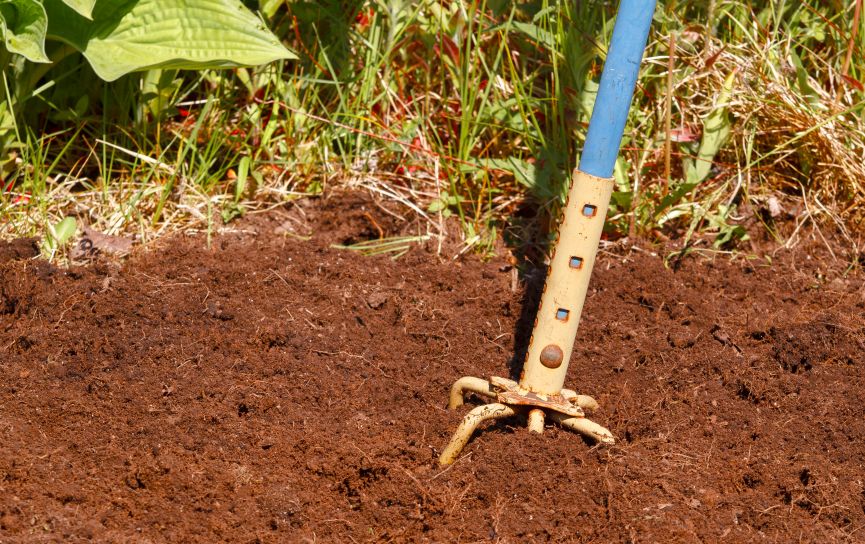
This process improves soil aeration and helps roots penetrate more easily. Better aeration also means improved drainage and aeration throughout my taised garden beds. I avoid tilling when the soil is too wet because that creates hard clumps that are difficult to break apart later.
Level and Edge Garden Beds
After loosening the soil, I rake the surface to create a level planting area. An even surface prevents water from pooling in low spots and ensures consistent moistrre throughout my beds.
I use a rake to smooth out any bumps or depressions. This makes planting much easier and helps seeds germinate evenly. I also define the edges of my beds with a spade to create clean borders.
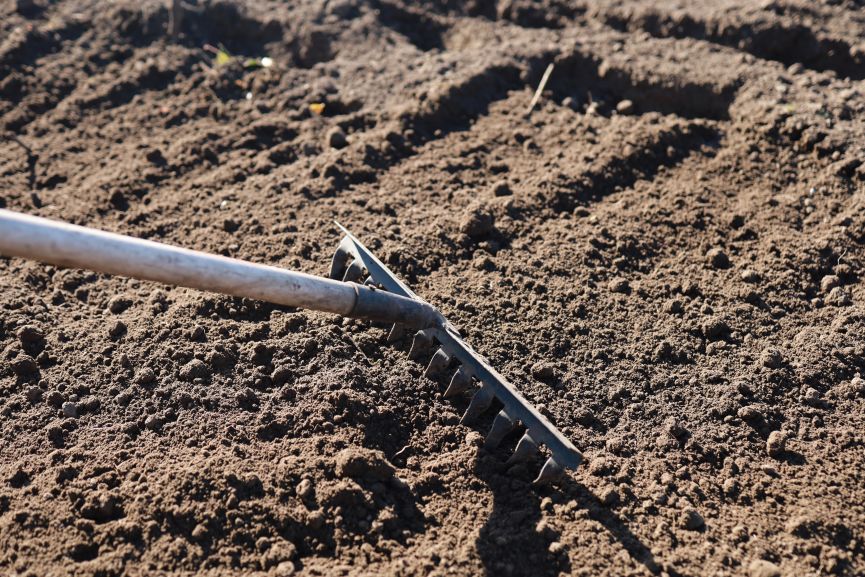
Clear edges help prevent soil erosion and keep grass from creeping into my planting area. Well-defined beds also make it easier to add amendments and mulch without spilling into pathways.
Remove Rocks and Improve Drainage
I comb through my beds and remove any rocks larger than a small pebble. Large rocks block water flow and create dry spots where plant roots can’t access moisture.
To improve drainage in the garden, I work organic matter into heavy clay soils. I add a 2-3 inch layer of compost and mix it into the top few inches of soil. This opens up tight soil structure and allows water to move through more freely.
For areas with poor drainage, I consider raising my beds or creating slight mounds. I can also add coarse sand or perlite to heavy soils. Good drainage prevents root rot and creates healthier growing conditions for most vegetables and flowers.
Preparing the Garden Soil in the Spring by Amending and Enriching the Soil
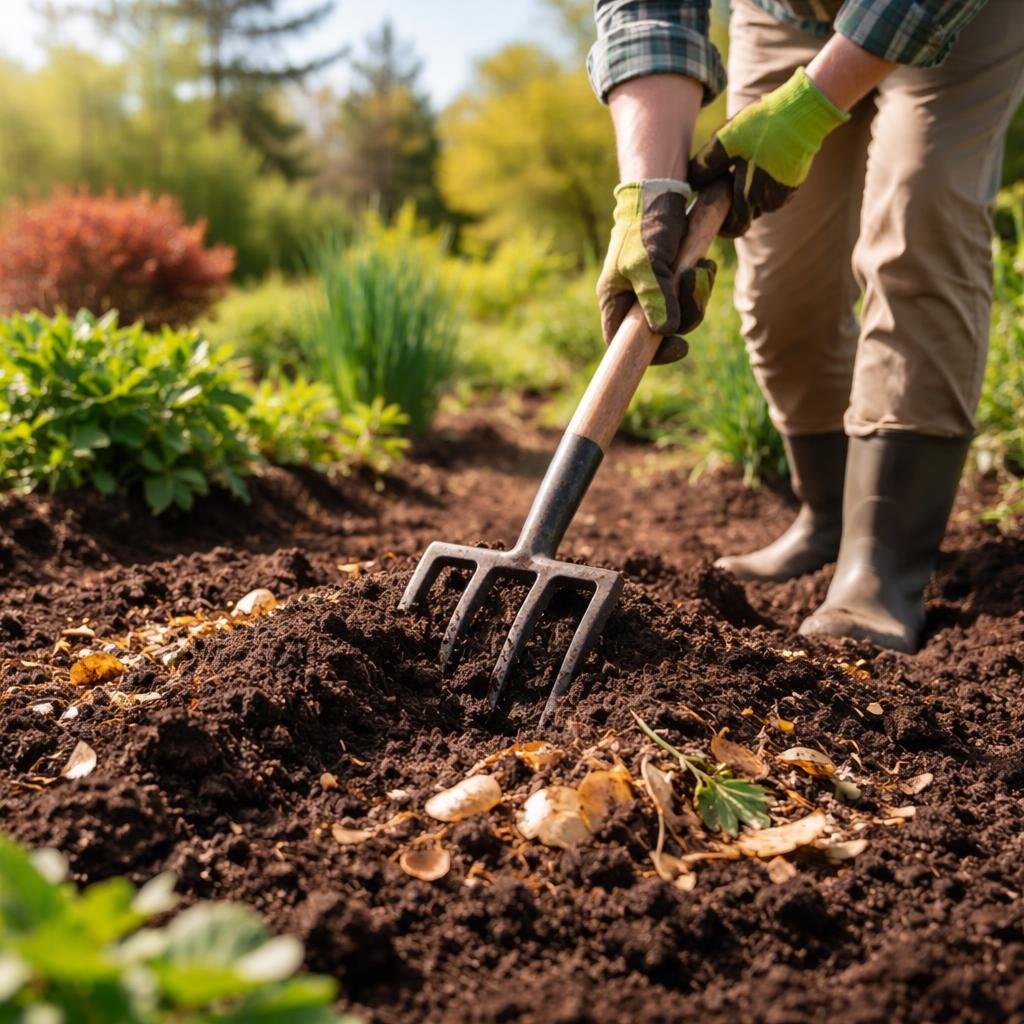
Spring soil preparation requires adding materials that boost nutrients and improve structure. I focus on organic matter, manure, fertilizers, and minerals to create ideal growing conditions.
Add Organic Matter and Compost
I always start by adding a 2-3 inch layer of organic compost across my garden beds. Compost provides essential nutrients while feeding the beneficial microbes and bacteria that break down organic material. When I mix in compost, I use a rake to blend it with the top 4-6 inches of soil without disturbing the deeper ecosystem. if you are not producing your own compost, your local garden store will have bags of sheep manure in 12.56kgs (28lbs) bags giving you a coverage of 73 square feet.
Quality indicators I look for:
- Dark, crumbly texture
- Pleasant earthy smell
- Presence of earthworms
- No foul odors
I spread the compost evenly and water it lightly after application. This helps the organic materials break down and integrate into the existing soil structure. If I don’t have homemade compost, I purchase it from local nurseries or ask fellow gardeners to share theirs.
The microbes in compost create air pockets as they work. These pockets improve drainage and aeration naturally.
Use Well-Rotted Manure and Leaf Mold
Well-rotted manure adds nitrogen and other nutrients that plants need for spring growth. I only use manure that has aged for at least 6 months to avoid burning plant roots. Fresh manure contains too much ammonia and can harm beneficial soil organisms.
I apply a 1-2 inch layer of aged manure and work it into the top few inches of soil. Cow, sheep, horse, and chicken manure are my preferred options, with chicken manure being the most nutrient-dense.
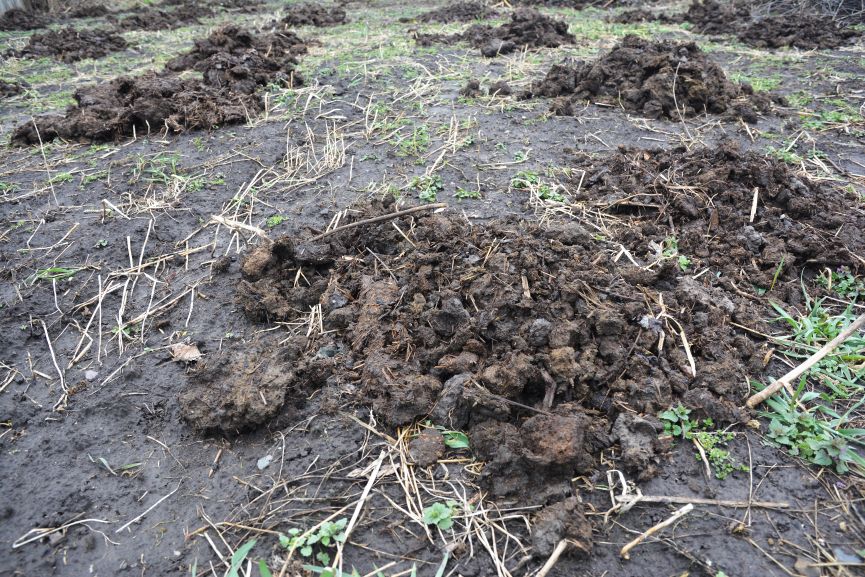
Leaf mold is decomposed leaves that I collect from fall cleanup. It is important not to flood the garden with leaves but to apply a consistent layer. I break up the leaves with a mower or by hand before adding them. The small pieces lock in moisture and release nutrients as they continue breaking down. Leaf mold improves soil texture and water retention without adding excess nitrogen.
Incorporate Organic Fertilizers
I use all-purpose organic fertilizers to boost NPK content (nitrogen, phosphorus, and potassium). These fertilizers release nutrients slowly over time, which prevents the nutrient spikes that synthetic options create.
My application rates depend on soil test results. I typically apply 2-4 pounds per 100 square feet and follow product directions carefully.
Organic options I use:
- Fish emulsion – High in nitrogen for leafy growth
- Bone meal – Rich in phosphorus for root development
- Kelp meal – Contains trace minerals and growth hormones
- Worm castings – Packed with beneficial enzymes and bacteria
I water the fertilizer in after application so it absorbs into the soil. Worm castings provide beneficial bacteria that enhance nutrient uptake in plants.
Apply Rock Phosphate and Lime
Rock phosphate provides a slow-release source of phosphorus that promotes strong root systems and flower production. I apply it at a rate of 5-10 pounds per 100 square feet in phosphorus-deficient soils.
I only add lime to raise pH when soil tests show my beds are too acidic. Most vegetables prefer a pH between 6.0 and 7.5. Lime takes several weeks to change soil pH, so I apply it early in spring preparation.
I use dolomitic lime when my soil needs both calcium and magnesium. Garden lime (calcium carbonate) works when only calcium is needed. I never guess at lime applications since adding too much creates problems that take years to correct.
Using Cover Crops and Green Manure
Cover crops protect bare soil during winter months while adding nutrients and organic matter when turned under in spring. These plants prevent soil erosion, suppress weeds, and improve soil structure without requiring chemical fertilizers.
Benefits of Cover Crops
I rely on cover crops to protect my garden soil from winter rain and wind. These plants hold soil in place with their root systems, which prevents erosion during harsh weather.
Cover crops also block out light and space that weeds need to grow. When I plant them densely, they suppress weeds effectively throughout the dormant season.
The roots create channels in the soil as they grow. This improves drainage and makes it easier for future crops to establish deep root systems. Legume cover crops like clover and vetch add nitrogen to the soil naturally.
I’ve noticed my soil stays warmer under cover crops during cold months. The plants also encourage beneficial bacteria and earthworms to stay active longer into fall and wake up earlier in spring.
Selecting and Planting Cover Crops
I choose winter-hardy varieties like winter rye, hairy vetch, and crimson clover for fall planting. These plants survive freezing temperatures and continue growing when weather permits.
For quick spring coverage, I plant buckwheat or mustard between crop rotations. I sow these from late summer through early fall, spacing seeds closely in rows or broadcasting them across bare patches.
Popular cover crop options:
- Winter rye – Best for heavy soils, sow August to November
- Crimson clover – Good for light soils, sow March to August
- Hairy vetch – Adds nitrogen, sow July to September
- Buckwheat – Fast growing, sow April to August
I avoid using mustard or other brassica cover crops if I plan to grow cabbage, broccoli, or related vegetables next. This rotation prevents clubroot disease from building up in my soil.
Turning in Green Manure
I cut down my cover crops in early spring before they go to seed. I let the chopped foliage wilt for a few days on the soil surface before incorporating it.
I dig the plant material into the top 10 inches of soil using a spade or tiller. Turning cover crops into green manure adds valuable organic matter that breaks down into nutrients.
I wait at least three to four weeks after digging in green manure before planting my spring vegetables. The decomposing plant material can slow seed germination if I plant too soon.
For dense or tall cover crops, I chop the tops into smaller pieces first. This makes them easier to work into the soil and speeds up decomposition. I sometimes add the excess foliage to my compost pile instead of burying it all.
Establishing Raised Beds and Mulching
Raised beds offer better drainage and soil control compared to traditional in-ground gardens. Adding mulch around and between these beds helps control weeds while keeping soil temperatures stable.
Building or Refreshing Raised Garden Beds
I recommend building raised beds in early spring to give yourself time to fill them properly before planting. A raised bed should be at least 6 to 12 inches deep for most vegetables, though deeper beds work better for root crops like carrots and potatoes. My article on how to build raised beds will give you plenty of tips to build a solid and efficient raised garden bed
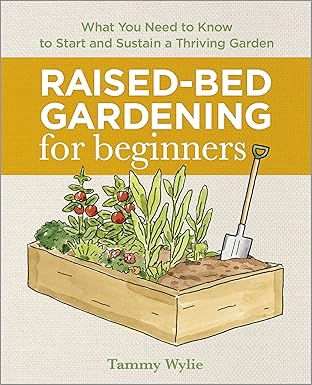
When filling new beds, I use a mix that includes compost, topsoil, and organic matter. A good ratio is one-third compost, one-third peat moss or coconut coir, and one-third vermiculite or perlite.
For existing beds, I refresh the soil each spring by removing the top 2 to 3 inches and replacing it with fresh compost or worm castings. If I grew tomatoes, eggplants, or potatoes in containers the previous year, I replace all the soil to reduce pest and disease problems.
Applying Organic Mulch
I apply organic mulch around raised beds and along garden paths to keep the growing area clean and manageable. Hardwood mulch works well, but I avoid any mulch containing black walnut since it releases juglone, a compound that stops seeds from sprouting and limits plant growth.
I lay down 3 to 4 layers of flattened cardboard on paths before adding mulch. This creates an extra barrier against weeds that try to push through.
The mulch layer should be 2 to 3 inches thick. I keep it a few inches away from plant stems to prevent rot and pest issues.
Benefits of Mulching
Mulching provides several advantages for my spring garden. It suppresses weed growth by blocking sunlight from reaching weed seeds in the soil. This saves me hours of hand-weeding throughout the season.
Key benefits include:
- Keeps soil moisture levels consistent
- Regulates soil temperature during hot weather
- Reduces water evaporation from the soil surface
- Breaks down over time to add organic matter
- Creates clean pathways between beds
The cooling effect matters most during summer months when soil temperatures can stress plant roots. Mulched soil stays several degrees cooler than bare ground.
Promoting Soil Structure in Raised Beds
I focus on improving soil structure by adding a 2 to 3 inch layer of organic matter over the existing soil in my raised beds. This improves how water moves through the soil and creates space for air to reach plant roots.
Organic matter also feeds beneficial microorganisms that break down nutrients for plants. I use finished compost, aged manure, or worm castings.
If my raised bed soil feels compacted, I use a broadfork to loosen it without turning it over completely. This creates pore spaces while keeping soil layers intact. The improved structure allows roots to spread easily and access water and nutrients throughout the bed.
Final Steps Before Spring Planting
After I’ve amended and worked my garden beds, a few critical tasks remain before seeds or transplants go into the ground. Proper settling time, moisture balance, weed control, and a final health check ensure my soil is truly ready for the spring planting season.
Letting Soil Settle
I always give my soil time to settle after adding amendments and working it. This waiting period typically takes 7 to 14 days, depending on weather conditions and how much I’ve disturbed the bed.
During this time, the soil structure stabilizes. Air pockets collapse naturally, and amendments begin integrating with the existing soil. If I plant too soon, my seeds or transplants may sink or shift as the soil settles around them.
I check the soil by gently pressing my hand on the surface. It should feel firm but not compacted. When I prepare garden soil for spring, this settling phase also allows beneficial microbes to start breaking down fresh organic matter I’ve added. Light rain during this period helps the process, but heavy downpours can cause problems.
Preparing the Garden Soil in the Spring Includes Moisture Management and Drainage
I test drainage by digging a small hole about 6 inches deep and filling it with water. If the water drains within 1 to 4 hours, my drainage is good. Water sitting for more than 8 hours signals poor drainage that needs fixing.
For beds that drain too slowly, I work in coarse sand or perlite to improve soil structure. I avoid planting in waterlogged conditions since roots need oxygen to thrive.
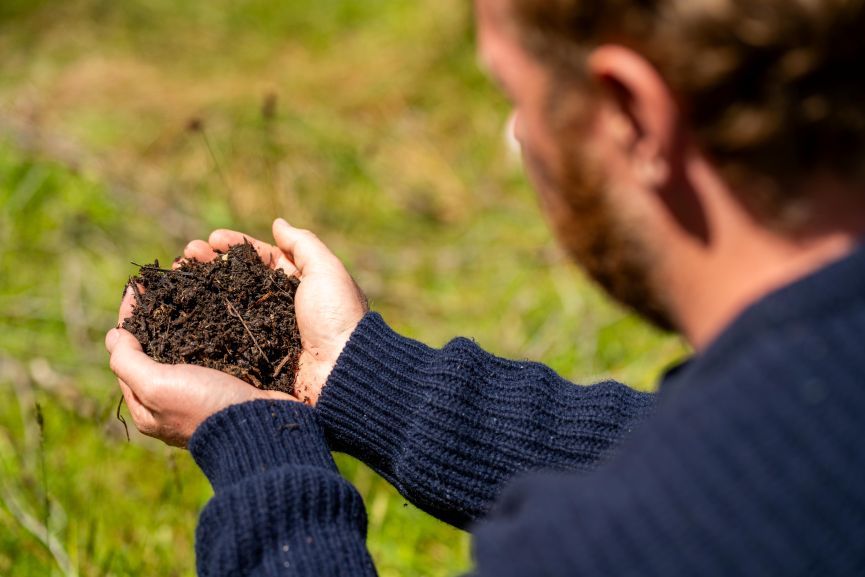
I aim for evenly moist soil before planting. When I squeeze a handful, it should form a loose ball that crumbles apart easily. Too wet means I need to wait. Too dry means I should water lightly and let it absorb for a day or two. Let the soil speak to you!
Suppressing Weeds Pre-Planting
I pull any new weeds that have emerged during the settling period. Getting them out now prevents competition with my crops for nutrients and water.
For larger areas, I use a shallow hoe to disturb the top inch of soil. This kills young weed seedlings before they establish roots. I’m careful not to dig deeper since that brings buried weed seeds to the surface where they’ll germinate.
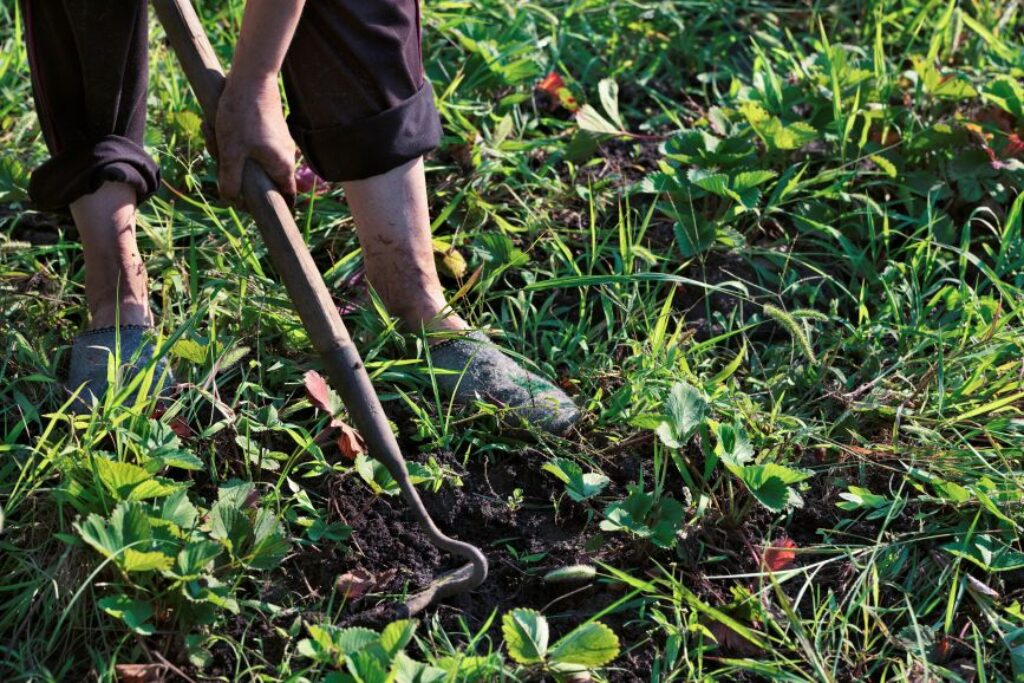
Pre-planting weed control methods I use:
- Hand pulling small weeds before they set seed (Watch for dandelions and other deep root weed and pull them early)
- Light surface cultivation with a hoe or rake
- Covering beds with cardboard for 1-2 weeks to block light
- Spot treating persistent weeds with vinegar solution (Crap grass which have large roots can be a nuisance)
I check my beds every few days during this final waiting period. Catching weeds early saves me hours of work later in the season.
Reviewing Soil Health and Readiness
Before I plant anything, I do a final assessment of my soil’s condition. Doing all this work of preparing the garden soil in the Spring should give out the expected results you want later on. Have a look at the color, texture, and smell to confirm everything is on track. Check for any rodents who just recently made their home in your freshly prepped garden soil. It is better to get rid of them early on, before your planting is completed.
Healthy soil appears dark brown or black. It smells earthy and pleasant, never sour or rotten. When I run my fingers through it, the texture feels crumbly with small aggregates that break apart easily.
I verify the temperature by pushing a soil thermometer 2 to 4 inches deep. Most spring crops need soil temperatures between 40°F and 60°F to germinate well. Warm-season crops like tomatoes and peppers require at least 60°F.
My final soil health checklist:
| Factor | What I Look For |
|---|---|
| Color | Dark brown to black |
| Texture | Crumbly, not clumpy or dusty |
| Smell | Fresh and earthy |
| Temperature | Appropriate for crop type |
| Moisture | Forms a ball but crumbles easily |
| Weeds | Minimal to none present |
If something seems off, I address it before planting. Adding a bit more compost, adjusting moisture, or waiting another week makes a significant difference in my spring planting season success.
Final Thoughts on Preparing the Garden Soil in the Spring
Spring is exciting for manythings. Snow is gone and you want to get going on your gardening. So preparing the garden soil in the Spring is one of the first step to get you going. Wait for the ground to be ready and don’t start too early. Snow melting takes a while to be absorbed naturally by the soil. If your drainage is optimum like a raised garden bed, it is even easier.
Remember to enrich and amend the soil with the addition of organic compost and the right amount of fertilizer. Stay on top of the weeds while making sure your garden drains well.
I hope you enjoyed this post and as usual if have any comments or feedbacks please share with us and the rest of the community. We certainly want to hear from you. If you have questions or you are not certain on what to prune and when leave us a word.
I do receive a commission at no cost to you from sales referred by our links. The commission received helps me and my team enhance our reviews and buying guides by acquiring some of the products to better serve you. Rest assured, we have carefully selected these products for their usefulness and quality.