
Spring is always an exciting time for gardeners because it signals the time to get your garden started. Discovering your first seeds germinating is always a great experience to see them come out of the soil. Many considerations are in play when you start your seedling in the Spring. Factors like the timing, type of soil, sunlight exposure are all critical for a successful start.
Basic factors to consider when you start your seedlings in the Spring
As mentioned briefly above, talk to any gardeners, experienced or not, starting their garden will tell you that a few basic factors are to be considered when they start their garden. In addition, some gardeners may have their own greenhouse but the majority of them don’t. So in this post, we can look at both the greenhouse start and the regular start approach.
Greenhouse Approach
When you start your seedlings in the Spring within a greenhouse, you get the flexibility to start your seeds with more space, convenience, light, warmth and some humidity. Having a decent temperature in your greenhouse such as room temperature is ideal.
Don’t forget the sun, being higher as the Spring evolves, becomes warmer and warmer. If your greenhouse is too hot the seeds may not germinate as strongly as they should.
If you own a greenhouse, you can actually start planting your spring greens like such as lettuce spinach, cabbage and some herbs. These can be direct-seeded or transplanted.
Below is a list of items to verify to ensure your greenhouse is in top shape:
Repairs: For those in the north, north east of North America region snow is well present so the time to do any repairs should have been in the Fall, Any plastic panels or wood framing should be repaired in October-November ready to start seedlings in the Spring.
Water: Depending on your greenhouse, your water setting whether it is manual watering or a more sophisticated and automated setting needs to be checked and verified for any kinks, holes or loose fittings.
Planters: Organize your planters accordingly where some plants requires more lights and heat than others. Don’t forget to label your planters just like you would do when starting your garden. Like your garden, have a preplan diagram where the seedlings are located.
Ventilation: Some more advanced greenhouse have some ventilation built-in and those should be verified for optimum performance.
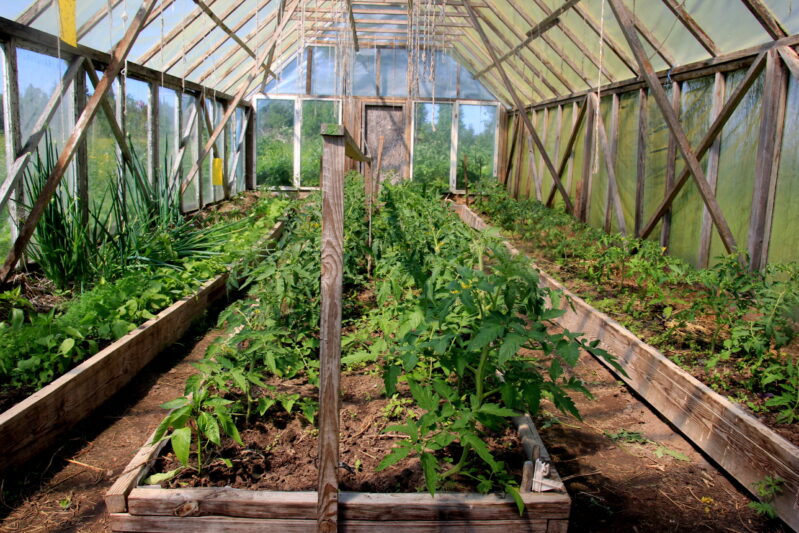
Many of the preps afterwards are common to both approaches, therefore we will look at those preparations to start your seedlings in the Spring for both the greenhouse or a simple large table in your home. Some of these steps can take place during the Winter months prior to start planting your seeds.
Regular Start Approach to Start Your Seedlings in the Spring
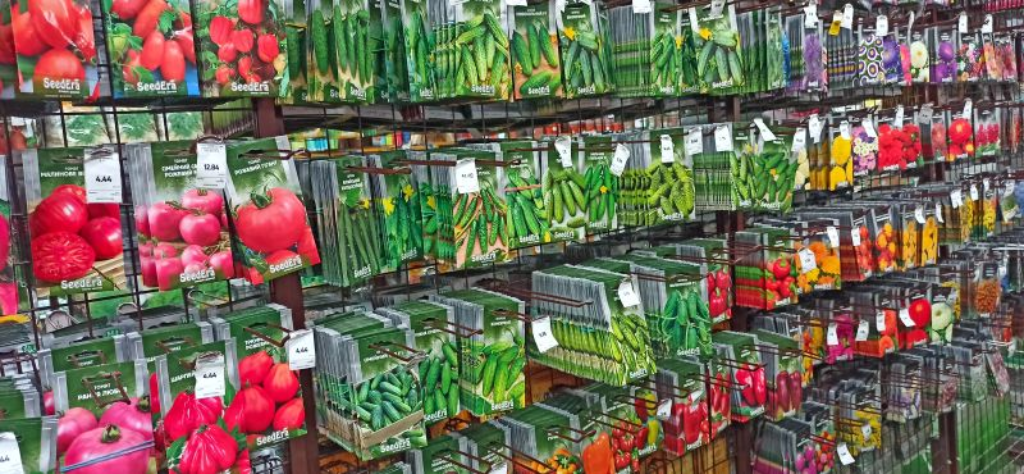
Acquire your Seeds (Winter): Now is the time to get your seeds, you will be using to get your seedlings started. We recommend going with organic seeds as they come with a smaller environmental footprint. Organic seeds are bred to grow without the use of chemicals and synthetic fertilizers. They ay be a bit more costly but well worth the additional dollar.
Build your Seeding Calendar (Winter): Building your sending calendar is a great idea to keep you organized but also to keep on point with regards to your best timing to plant a certain seed. Certain seeds do need the time to be planted early where some can wait a couple weeks or even more. Using a calendar will help you immensely, It can be on paper, your tablet or on your phone. The calendar can also be used to note when you’re going to transplant each crop. From that date, count backwards to pinpoint your seeding date. As an example, if you plan to transplant cabbage on May 28, and it takes 4 weeks to get from seed to transplant, you’ll start your cabbage seeds on April 30 (4 weeks earlier).
One great calendar we know some of our readers are using is from the Almanac’s Planting Calendar
Preparing your Accessories and Material: Whole picking your seeds, it I the perfect time to pick up your seeding soil. Also consider other accessories such as labels, trays, watering cans solar lights, liners for your trays to sit on. If items are cracked or worn out, it is the perfect time to replace or fix them.
Seeding: Is there a perfect time to start seeding? It depends on what your planting. Some vegetables of flowers require more time indoors before transplanting them in your garden. Sowing the seeds too early may result in the plants ready to leave their pots before it’s warm enough outside before the frosting days are gone. And in reverse sowing too late, will not allow the seedlings to reach their full maturity, ready for transplant.
When is the best date to start your seedlings in the Spring
There are three main aspects to consider when deciding to sow your seeds. Like we mention above, you don’t want to seed too early or too late.
1 – Read the information on the seed Packet – At the back of your seed packets, you will have all the instructions related to that particular plant/vegetable (seeding information). This information describe valuable information as to when to seed indoor, when to transplant and when to sow outdoor too. Other information such as seed spacing, seed depth, row spacing (outdoor), light exposure are also included.
As an example, a packet may say to start sowing indoor 8 to 10 weeks before the last expected frost date in your area. This is where the counting back is used. Simply count back the 8-10 weeks back from the last frost-free date is expected for your region and this will give you your sowing indoor day.
Every regions in North America and also Europe will have a different frost free date based on locations and climate. Many farming sites have the expected frost-free dates listed for each calendar year.
2 – Planting Calendar – Establish your planting calendar early before sowing your seeds, you don’t have your seed packets yet. Great online tools exist to plan your sowing indoor sessions such as the Almanac’s Planting Calendar à https://www.almanac.com/gardening/planting-calendar which will give you perfect date to start your seedlings in the Spring based on the more common vegetables and herbs you will want to have. It takes into account the climate, region and tells you the the first frost free date to help you in your calculation.
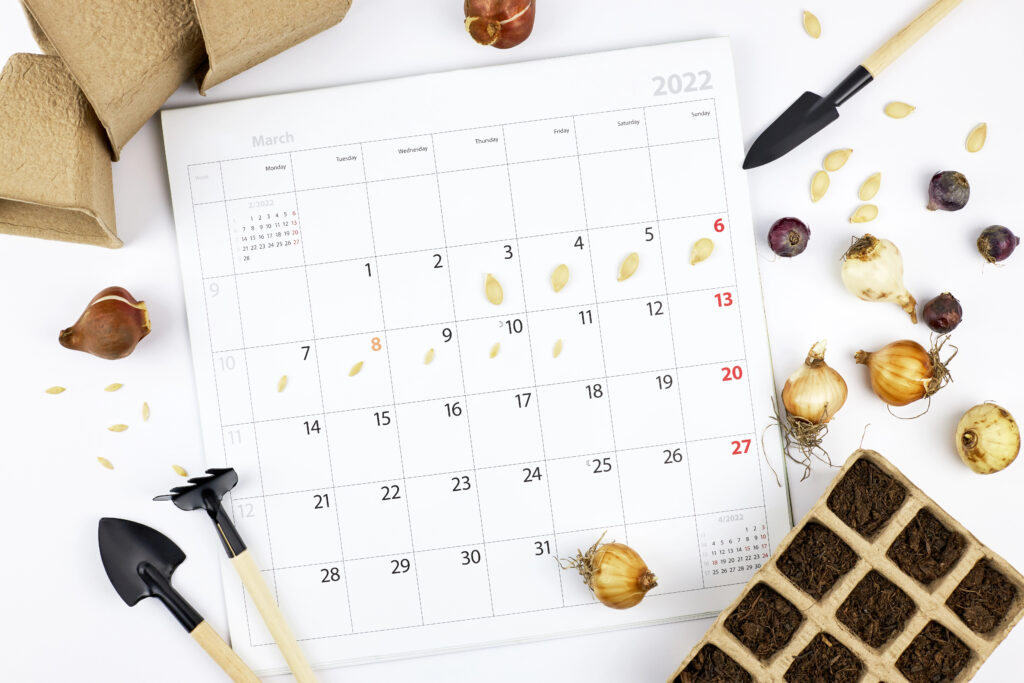
3 – Garden Planner – A garden planner is a good way to start your gardening season organized and worry free. A garden planner will tell you the planting dates (so you remember when you sowed a particular vegetable). There are many ways to utilize a garden planner, There are even free internet templates you can quickly dish out and make it your own.
Seedlings to Start Indoor in the Spring
When you start your seedlings in the Spring, you will also need to know what to start indoor and what is best to wait and start outdoor after the last frost,
Some take more time to come to maturity for transplant like a tomato plant or pepper. In addition, they do not react well to colder temperatures.
Some vegetable do not transit well from indoor to outdoor when they are transplanted like cucumbers and melons. Know what vegetable is best to start indoor and those who are best to wait after the last frost
So which vegetables are best to start indoor in the Spring?
Each plant has its own particularities. Some will do better indoor followed by a transplant outdoor after the last frost free date and some will do just fine in moderate cold weather and some will simply have to wait until the last frost free date.
Focus on indoor sowing should encompass vegetables like tomato plants, pepper, cabbage, broccoli, eggplants. Those vegetable with a slow root development (take more time) like celery, onions, cauliflower and peppers should be part of indoor sowing plan.
Certain plants like tomato and pepper plants are very fragile and susceptible to cold temperatures and should always be started indoor.
On the other hand, those plants that are not reacting well to a transplant are: cucumbers, melons, pumpkins, and squashes. It is best to wait after the last frost free date to plant them outdoor in the garden or garden planters. Considered as tender despite the size of their plant size (spread), those plants require a warm soil and temperature to quickly reach their maturity
Continuing with plants that have a unique particularity are those that don’t appreciate messing with their roots. Those vegetable plants will resist transplanting. In that group, vegetables like carrots, turnips, and beets, fall within that category. Starting them outdoor after the last frost is best. Herbs like dill and parsley, with the same particularity regarding their roots should also be considered
Plants that are more tolerant to cold temperature like radishes and peas can be planted outdoor when the weather and temperature is suitable. They will resist a frosty night as long as the temperature doesn’t drastically go below 0 and for a short period.
Below is a comprehensive list to get you started.
| Seed-Starting Preference by Plant | ||
| Plant | Start Indoors (prior to frost-free date) |
Start Outdoors (Direct-Sow) |
| Artichoke | 8 to 10 weeks | |
| Arugula | X | |
| Beets | X | |
| Broccoli | 4 to 6 weeks | |
| Brussels Sprouts | 4 to 6 weeks | |
| Cabbage | 4 to 6 weeks | |
| Cantaloupe | X | |
| Carrots | X | |
| Cauliflower | 4 to 6 weeks | |
| Celery | 10 to 12 weeks | |
| Collards | 4 to 6 weeks | |
| Corn | X | |
| Cucumbers | 3 to 4 weeks | X |
| Eggplant | 8 to 10 weeks | |
| Green Beans | X | |
| Kale | X | |
| Kohlrabi | X | |
| Leeks | 8 to 10 weeks | |
| Lettuce | 4 to 5 weeks | X |
| Okra | X | |
| Onions | X | |
| Parsnips | X | |
| Peas | X | |
| Peppers | 8 weeks | |
| Potatoes | X | |
| Pumpkins | X | |
| Radishes | X | |
| Rutabagas | X | |
| Spinach | X | |
| Squash (Summer) | X | |
| Squash (Winter) | X | |
| Sweet Potatoes | X | |
| Swiss Chard | X | |
| Tomatoes | 6 to 8 weeks | |
| Turnips | X | |
| Watermelons | X | |
Credit – Thanks to the Farmer’s Almanacs for this valuable table
Three Essential Items to Start Your Seedlings in the Spring
Four essential items are required to start your seedlings in the Spring. You need proper soil, a pot or tray to put your planting soil in and finally you need a proper source of light. Watering is also part of the equation of course. Let’s have a look at each.
1 – Planting Soil or Mix – When you head to the nursery you will see different types of potting soil or mix. Don’t get overwhelmed by all the different types. Ain for the organic planting soil or seed starting mix. Organic again is best and the nutrients in the soil are perfect for starting seeds successfully. You should avoid the peat-based mixes such as coconut coir.
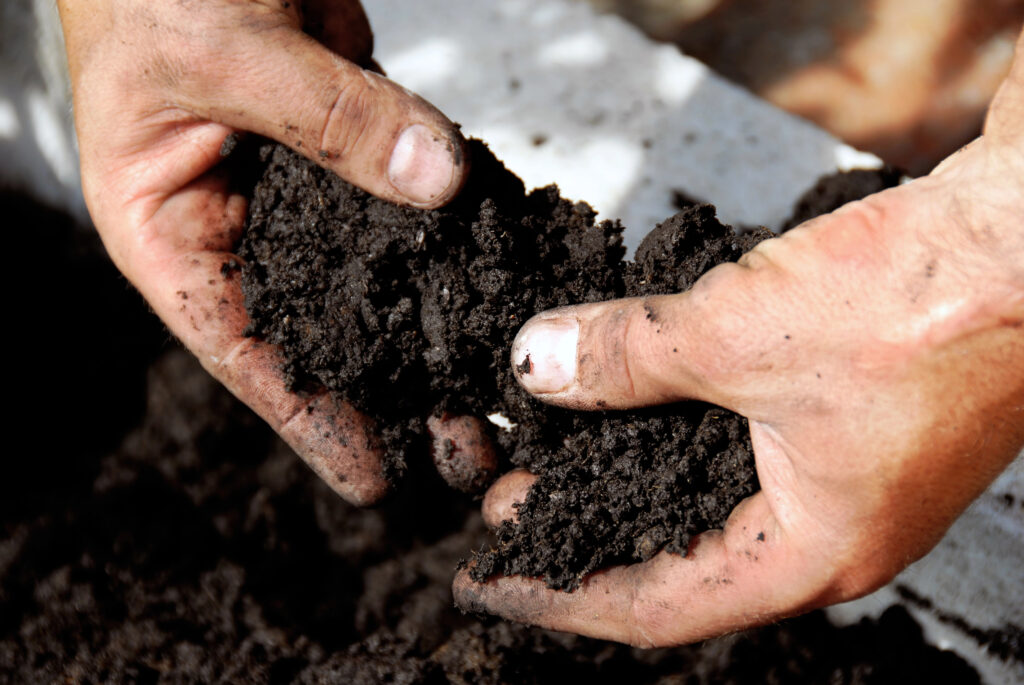
All purpose mix will work too but the soil is not the best for drainage especially if you have some chunks of wood chips or rocks. Sift the soil before pouring it in your pot or trays. With those obstructions in the soil, the roots of the seedlings will not get the full access to the nutrients needed and may struggle. All-purpose mix is generally cheaper than a more specific potting soil.
Seed starting mix is available here or at your local nursery and some general outlet stores.
Finally do not use previously used outdoor soil as it may contain pest and disease, An outdoor soil is heavier and compacted which may prevent roots to fully get the nutrients needed and expand.
2 – Planting Container –Choosing the right planting container is critical for success when starting your garden by sowing indoor. You need a container that will allow the roots to expand and breathe.
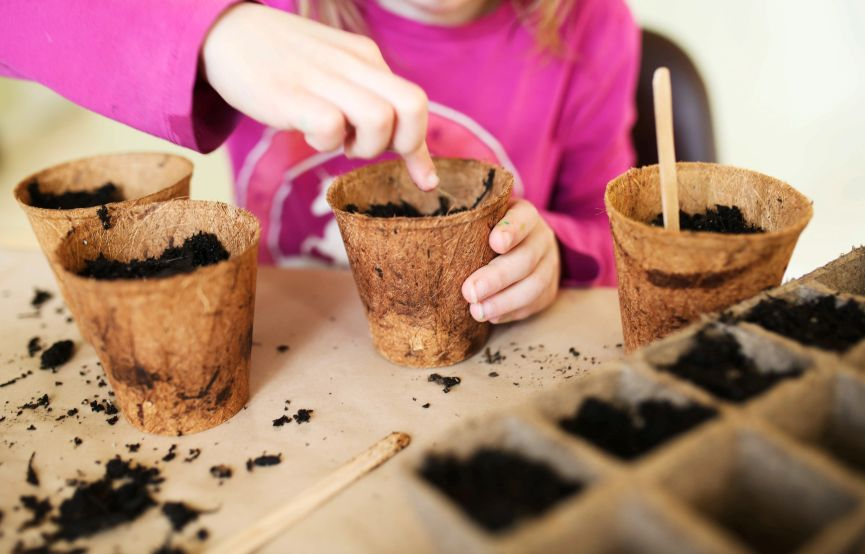
There is nothing wrong using a larger pot and planting seeds at an adequate spacing between each one of them. It is space efficient and it will facilitate the transfer of those seedlings into its own pot or plug. A large pot beats having a large rectangular tray. Small seeds like basil may enjoy more sowing them into a single container or pot.
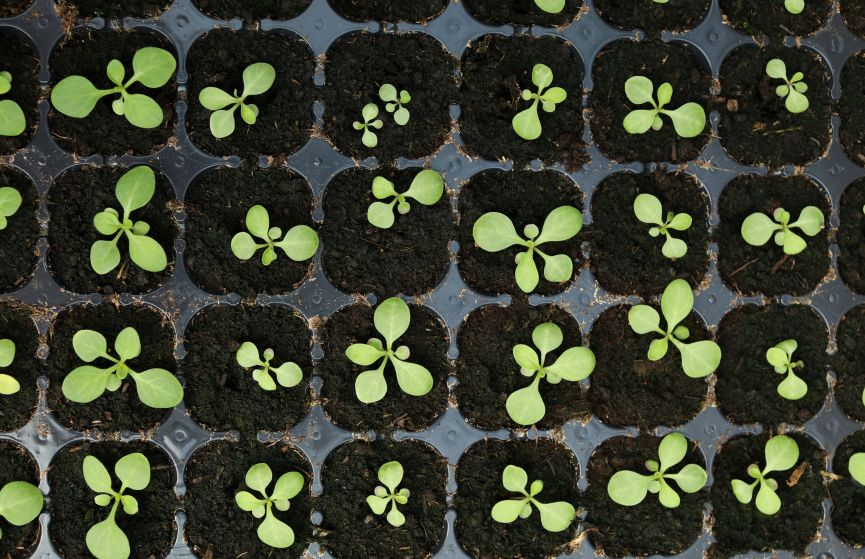
Other type of planting containers are the plug trays. Plug trays are rectangular flat trays with dedicated cells for each seed(s). It minimizes the need to transfer seedlings compared to using larger pots. This reduction cuts down on root disturbance and ruining the seedling. All that is needed is sowing the seed in each cells.
Depending on what you grow you may transplant them in trays with larger cells if needed. The plant must enough strength to endure the transplant. Usually you will want to put two to three seeds per cell.
3 – Recycled Plant Containers – Recycle plant containers can be a great source for sowing your spring seeds. Those are your plastic yogurt, margarine, sour cream containers. All is needed is a good clean and simply puncture some drainage holes underneath. Their sizes will allow to have two or three seedlings in each. They are good for a few weeks but keep in mind they will require to be transplanted at some point. This type of planting containers is more economical that purchasing new trays and pots.
If plastic is not your thing, you can also purchase trays that are biodegradable fiber.
4 – Lighting Source – A proper lighting source is very important when starting your seedlings in the Spring. In March, sunlight is still limited for seeds to germinate and flourish. If you have a room with large windows and maximum sunlight, you should be fine. Adjusting the lights as the plant grows will likely be necessary. The light source should be above the tray(s) / pot(s) by 4 inches approx.. covering the whole tray.
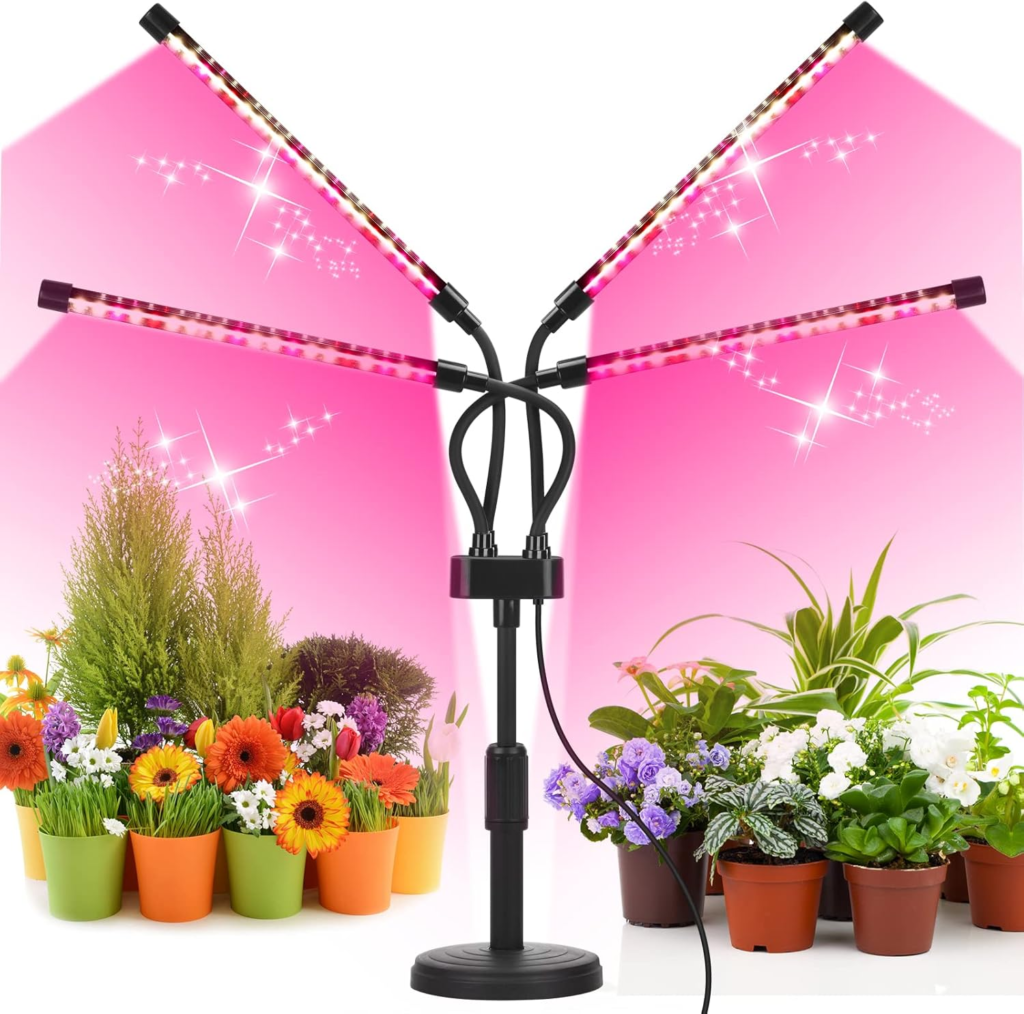
If you are limited in windows and sunlight/daylight exposure, you will want to get a full-spectrum grow lights for indoor growing. There are many types and you will need to get the light that best fit your needs and space allocation. Consider those lighting kits that are energy efficient so your utility bill doesn’t go up the roof.
Generally, you should leave the full-spectrum lights from 12 to 16 hours a day. Leaving the lights longer can actually speed up growth of your seedlings. So if you started a little later, this is a great tip to catch up on the early growth ready to transplant.
Also keep on mind, the plats do need some darkness as well. So leaving your seed starting lights on all day will not be productive. A good rule of thumb is to switch them on in the morning when you wake up and turn them off at night before going to bed.
We have listed and reviewed a few of them in our buying guide for your convenience, so feel free to check them out.
Sowing the Seeds in a Planter or Pot
Sowing the seeds in your pot or tray cells is probably the simplest step in starting your garden. Now that you have your pots and trays laid out the excitement starts.
Filling the pot with dirt – For sowing in a pot fill it with he seed starting mix all the way up to the brim. Compact it by tamping gently until it is firm. You may require more soil after tamping it down so add more soil if needed. In the case of plug trays, same principles apply by filling each cell all the way to the edge. Press down on each to compact the soil. If needed add a little more to bring the level to the top. Brush off the excess. Keep in mind when watering, the soil will compact a bit more. Fill all your trays or pots first to keep it more organized.
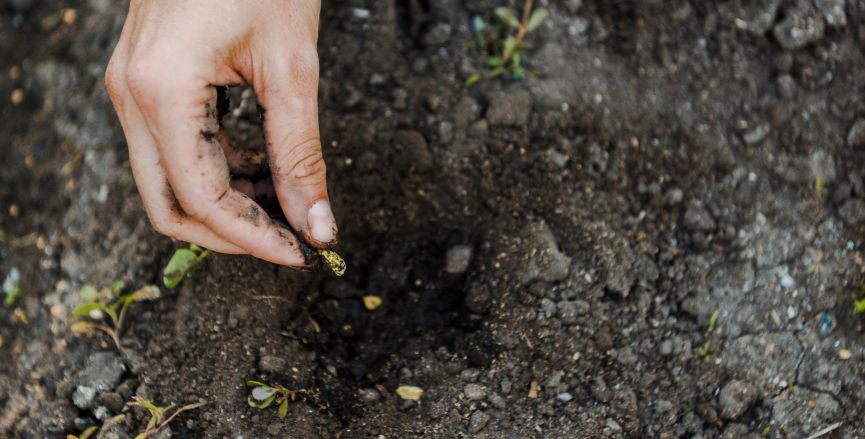
Sowing the Seeds – Next it’s time to sow. By using a finger (pinky is best) or the end of a pen or pencil-eraser gently poke a hole for your seeds. It is important to make a hole at the exact depth stated on the pack of your seed packet for that plant. When seeding also take the time to look at the seeds. Not all seeds are perfect or healthy. Picking the best seeds out of the packet will give you the best chances for a strong germination.
Certain vegetables like lettuce, onions, peas radishes, can be sown by dropping three to to five seeds per cell as a cluster of seedlings. As they grow can be thinned out for more strength. Larger seeds such as beans or corn can be sown individually and deeper in their own plug. Again confirm depth and spacing at the back of the packet.
Once completed cover all the seeds all the way to the top with more seed starting mix so the seed are at the proper depth.
Label your Seeds Sowed – This is an important step. Label your sowing cells individually especially if you have different varieties of the same plant like tomatoes. If one tray contains different varieties, label them individually but if your tray or pot is the same, then labelling the tray is fine.
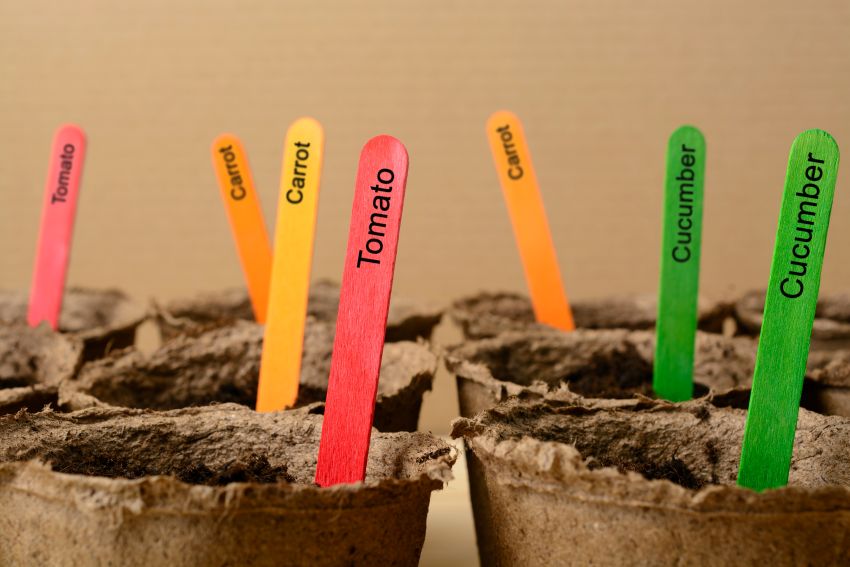
Depending on the size of your garden and quantity of seedlings, it is easy to forget what seeds and variety was sown where. Labelling will make it much easier. The perfect label shall state the plant, variety and date it was sown. Use a permanent marker since you will be watering them regularly. Seed labeling kits can be purchased to make it easier.
Watering Your Seeds – Watering your seeds is next. It’s important to water the seeds carefully and lightly. A watering can will work beautifully or a fine sprinkling hose. Avoid any pressure when watering in order to protect the seeds. Using a pitcher may also dislodge the seeds by the amount of water coming down. The soil should be saturated. Allow some time for the water to seep and drain through and then water again lightly. It is important to really wet the seed starting soil when starting to get the seeds to germinate. Overwater is not an issue if you have proper drainage under your pot or your plug tray.
Credit – Thanks to the Farmer’s Almanacs for this valuable video
Ideas to Accelerate the Germination
The idea of starting your indoor seeds to germinate earlier is to be ready for outdoor transplant which will result in harvesting the crop within the summer-late summer and fall season. You want your plants to be strong when the outdoor transplant occur. We also want to see our seeds to grow fast but you should be cautious. Too early too soon can present a problem later on. The ideal way to achieve a fast and smooth germination is to ensure you set your seeds in the best conditions possible. Basic conditions such as light, warmth and regular watering will do the trick. Below we listed some quick tips for you to remember:
- Follow the instructions on the back of the packet regarding the room temperature for indoor seeding. A room with a temperature slightly above room temperature is best.
- Heating the underside of the plug trays or pots can also accelerate germination. Simply have your tray(s) or pot(s) sitting on a heating pad for indoor growing, Regulate the temperature so you don’t overheat them . Pads should have a space between the table and tray to avoid any overheat mishaps.
- Avoid the seed-starting soil to dry out, keep the soil moist at all time. You can use plastic wrap to cover the pot or plug tray. Puncture some holes in the plastic with a needle or toothpick to allow the seedlings to breathe.
- Once most of the seedlings have sprout, you can remove the plastic covering the trays or pots, and you should place the seeds where they will get as much light and warmth as possible.
Transferring Your Seedlings Outdoor
Transferring your seedlings outdoor is a major milestone in starting your garden in the Spring. You want this moment to be just as successful as starting your seedlings indoor. See below the steps on how to properly transfer your seedlings outdoor.
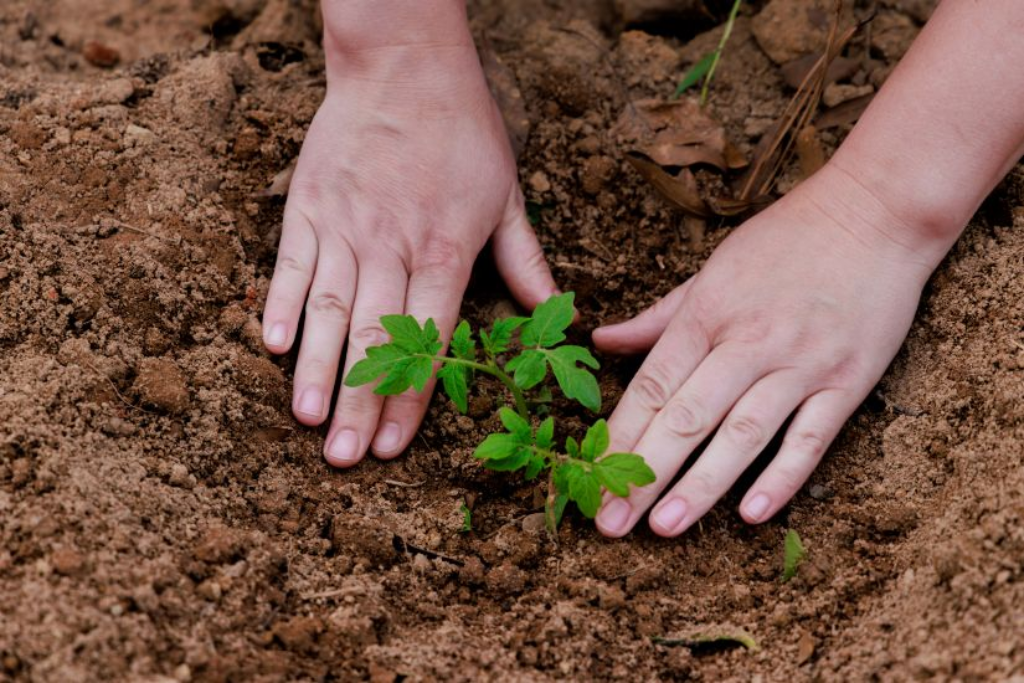
- If you transferring the seedlings into bigger pots or planters, first fill them with all-purpose potting mix. Create your planting holes in the mix and ensure the spacing is according to the packet instructions. Gently remove the seedlings from the tray or pot and place the seedling into its new home, the hole you just created.
- Of note, if you are transferring only part of the seedling cluster take only what is needed. Handle the seedlings by their leaves and not the stem since they are still very delicate at this stage. Breaking the stem or damaging the roots will definitely kill the plant.
- When taking the seedling into its new home, some roots may not follow. Avoid, as much as possible breaking and damaging the roots. Try to bring as much as possible seedling soil with the roots to avoid that situation. Planting younger seedlings works great since their roots are limited and can grow faster at that stage, once transplanted
- This is a great opportunity to place your seedlings a bit deeper than when they were indoor. Leggy stems will tend to bend and by placing them a bit deeper, it will reinforce the stem and provide support.
- Once set in its hole, gently place sone mix around the stem and tamp the bring the seedling upright. Follow with some water from a wearing can or very light spray if using a garden hose. The seedlings may lay flat from the weight of the water but will recover quickly once the water evaporates.
- Like indoor seed starting keep the area where your seedlings are moist. Monitor regularly the level of moisture above and in the soil. This can be done by pushing with a finger into all-purpose soil mix.
- If you transplanted in a pot, lift the pot to verify the weight. A dry mix will make the pot much lighter to lift. A heavier pot indicates there is still water in the soil. With pots, you don’t want to over watering causing the roots to rot.
Hardening Off Your Seedlings
New seedlings making their way outdoor need a period to acclimatize themselves to their new environment. Conditions such as wind, unexpected cooler temperatures, direct sunlight can easily damage your plant.
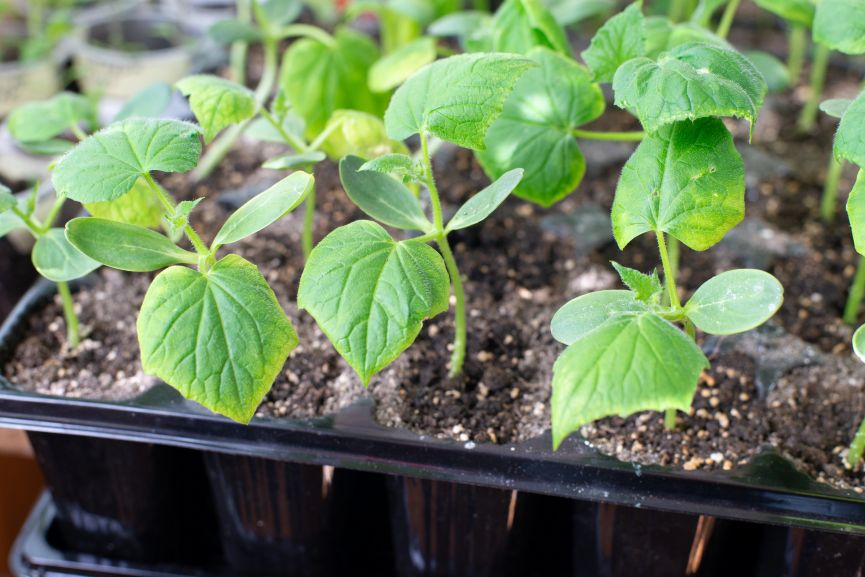
Fragile plants such as tomato and pepper plants are extremely vulnerable so they require an adaptation period called hardening off. See the video below to learn more about how to harden off your seedlings.
Credit – Thanks to the Farmer’s Almanacs for this valuable video
Quick Tips and Conclusion
Starting your annual garden is always exciting. The return and rewards from a successful garden is always a great source of pride while offering fresh fruits and vegetables for a large part of the year. The whole process is initiated when you start your seedlings successfully in the Spring. Below are some quick tips and reminders for you:
- Plan your upcoming gardening season ahead. While nothing is growing and dormant, this is the time for planning, execute any repairs (for those who have a greenhouse) and do your research on certain vegetable varieties. For larger garden, start doing your cost analysis on what will be needed.
- Do a list of what you’d like to grow and what you’d like to grow more and what you would like to grow lessor not at all. Maybe this year, you want to do more pickle cucumbers if you plan on jarring for dill pickles. Also plan your garden plot location for which type of plant will go where as an example. You should rotate your vegetables in your garden plot for more productive plants.
- Keep on mind when your seedlings will be outdoor, they will adverse weather conditions so ensure they are well protected. It goes as well for the various pests, animals and critters such as birds, slugs and rabbits. Take the necessary protection measures to prevent them to eat your seedlings. Install pest-prevention mechanism such as nets, screens, fleece and slug traps.
- Work a schedule for your seedlings by starting them in cycle of every two to three weeks for certain vegetables like lettuce, beets and radishes so you have a successful harvests throughout the summer and fall.
- Keep in mind certain vegetable plants require a lot of water such as cucumbers, watermelons, so set a time in your day particularly those of high heat and water them generously. Your watering schedule should be at dawn before the sun becomes too hot or at sunset when the sun is down. The garden will stay moist, and the water doesn’t evaporate as quickly.
So, we hope you enjoyed this article on how to start your seedlings successfully in the Spring. Feel free to share thoughts and comments and we always look forward to your own tips. Happy Gardening!